Listen. I have to come completely clean with you. The wine stoppers? Those weren’t the only DIY I tried. I’m sorry, OK? I wasn’t going to say anything about it, but it’s just that we’ve come to trust each other. I felt I had to tell you… that I also dabbled in tiered dessert stands.
I’ll give you a moment.
No doubt you’ve already seen a version of a DIY dessert stand tutorial floating around the wedding interwebs. Still, in order to help us all heal, I need to talk it through. So I’m gonna tell you, step by step, how I did it.
- First, get some plates and glasses. My glasses came from a thrift store. Plus 20 points! But I bought the plates new from World Market. CONVENIENCE PURCHASE ALERT! Minus 1,937 points. Am already flunking DIY school, and I’ve barely begun.

- Go the hardware store and buy some goop. Plumber’s Goop. This is different from Plumber’s Crack, which can also be found at the hardware store, provided you are vigilant enough.*
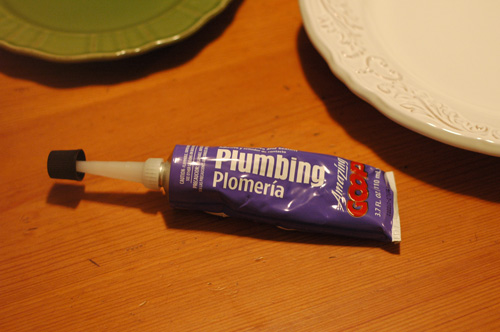
- Lay out all your supplies. Ed. note: Glass of booze not pictured.
- Play with your supplies. How do you want the glasses oriented? Up? Down? How do you want the plates stacked? Do you feel that the general themes of nineteenth century Russian literature are relevant to today’s society? Don’t you like popsicles?
- Eat some leftover frosting.
- OK! Here’s the key part: Slather goop all around the top and bottom rims of your glass. Place the glass onto the plate so that it’s centered. Ed. note: Your perception of “centered” may vary depending on the number of glasses of booze heretofore employed.
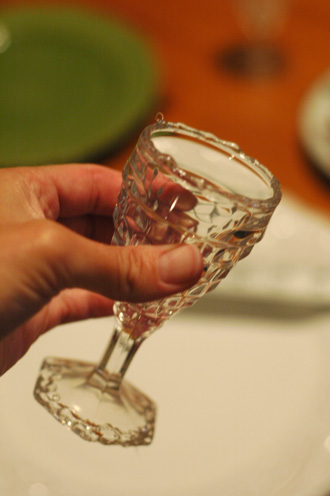
- Carefully set the middle plate on top of the glass.

- Slather goop onto the second glass, and repeat the centering thing. Finish with the final plate. Contemplate your troubled relationship with that Ke$ha song “TiK ToK.” Attempt to salvage your indie street cred by vociferously announcing to all in the room, including people you converse with on the phone who may hear it on in the background, that you’re only listening to it “ironically.”
- Remember that you have no indie street cred.
- OK, good. Now, do not move the dessert stand! Give it 24 hours to finish drying. Which means that you probably shouldn’t have built the stand right there on the dining room table, from which the stand is now emanating fumes. Whoops. Ed. note: That headache eventually goes away.
That’s it! You now have a lovely tiered dessert stand that you can use to display your favorite treats again and again, until the end of time, or at least until it shatters in the car on the way to your party while your mother is holding it in her lap. Seriously. The stems of the glasses just snapped right in half. Utterly destroyed before it even saw its first cupcake.
*throwing hands in the air*
IN SUMMARY: DIY AND I DO NOT GET ALONG. I have subsequently quit DIY and am currently in a 12-step recovery program.
Let us never speak of this again.
THANK YOU AND HAVE A NICE DAY.
_______________________________________________
* Ask for Earl.


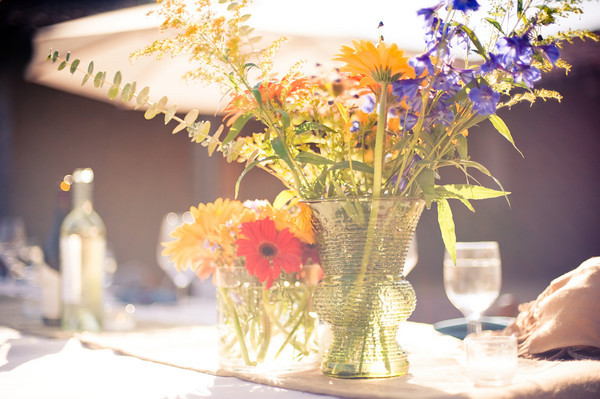

ohnoes! 🙁 it looked pretty while it lasted though!
I really couldn’t understand why this was a dIY fail. I was even thinking this was one of the few DIY projects I could definitely handle. And I didn’t see any saws or drills, which made me happy. (I can just about handle glue, cuz I’m skilled like that). And then I read to the end. Boo. Sad face.
Oh that brought a smile to my face, at least until I got to the part about the shattering. It was so pretty! (not that I need to remind you of that… sorry) But while the end was disappointing, I’m not sure you can write off DIY based on this – after all, the shattering and the fact that you did it yourself may NOT be related.
Honestly, my biggest problem with DIY (well besides the certainty of unforseen problems) is that the options become endless. I’ve read that when we have too many options we end up LESS happy in the end and I fully believe it. Case in point, my earrings. I found a pair I LOVED in a store but they were really quite simple so I decided to make a modified version myself. And they look lovely, but I keep picking at them. Tweaking. Pondering. All because I know I could change them and I might make them EVEN better. I’m sure if I had just bought the same pair I would love them wholeheartedly, but instead I’m a silly perfectionist, picking away.
Nina, I agree. I can’t count how many times I’ve stood in a store for what felt like hours, debating what items I should get for my little project. And this is before I even tried to assemble it!
What do you mean, DIY tiered cake stand? I don’t know of any DIY tiered cake stand. 😉
Now, Ke$ha on the other hand. I’m pretty sure that “secret” has leaked all over the Innernette. jk. I have the Ashlee Simpson CD in my car, so if you get minus 2,487 points for Ke$ha, I get minus 1,958,307 points for me.
I loved the finished product while it lasted! I haven’t gotten an A in any science class since the 4th grade, but the physics of it seem to really be trying those little teeny stems.
I have yet to find a DIY project that makes me want to go all the way through the process of hunting in the craft store for little deets that will lay around my apt afterward. But kudos to you for trying! Patience is pretty neat.
hahahaha!!
please excuse my maniacal laughter, it’s just that I was gluing cake stands two days ago, only to have one shatter yesterday. I swear, all I did was set it down on the table, the thrifted martini glass smashed to bits and I was left holding the plate.
ARE YOU SERIOUS??!? I think I was lulled into a false sense of security because all the other tutorials I saw, the plates were balanced on delicate stemware. I started to think that maybe, hey, it just worked that way. Clearly, it does not.
I would MAYBE try this project again, but only if I used some of those extra tall, sturdy shot glasses I had my eye on in the thrift store… not at purdy, but at least it would hold up better??
Yeah, I was doubtful at first, but then I saw photos of the cake stands in action, so I figured they must hold up. Ah, innocence.
What I decided to do was stick with candlesticks (metal, wood, or ceramic). No delicate stems, but they still look decent/decorative. And they don’t shatter as easily, which = +100pts.
I love that your instructions include eating leftover frosting.
I briefly toyed with the idea of gluing together platters and glasses, but decided that the 6 hour drive to San Fran would be too much. I’m sorry your cakestand broke, but glad that I decided that I was just too lazy to bother to take the time to glue my platters together. This proves that it does pay to be lazy.
I am looking forward to your next tutorial. I probably won’t attempt the project (with the exception of the wine and frosting bits), but can’t wait to read about it.
would that be my frosting?
also, i just came back from baggy’s, where i drank whiskey and beer with bj and tristan. this is in no way relevant to your post. i’m just sayin’.
aw it sucks when projects go wrong! i agree though the above commentors though, It looked great before the bust! also, I’ve had Ke$ha’s your love is my drug stuck in my head for weeks…
🙂 Sorry your DIY didn’t work out! But thanks for making me smile! Bonus 1372 smile points!
Wow… sorry to hear it shattered on you. I love the idea though. I wonder if you used glasses that had a sturdier stem would work. Hmmm. I may just have to try. I love trying to make things work.
You are hysterical. You had me giggling all through the tutorial. Your finished product looked so good and I’m so sorry to hear about the accident. But I seriously don’t think it was at all your fault.
You have such a good sense of humor.
Im so sorry.
I wanted to do this to save money and the guy refused to let me try. He predicted it would collapse easily.
So I read the older DIY post first and then this one, so now I’m torn as to which DIY post was the funniest fucking DIY post ever.
Do you mind me swearing in your blog?
Anyway, I find the shattered stems so curious. I wonder why. Which one broke, the top or bottom or both?
You know, cussin’ in your comments is not a requirement, but hell. ‘Round these parts, cussin’ is both welcomed and encouraged.
And it was the weirdest thing. Both stems snapped at the very same time. I wasn’t in the car to witness it, but I saw the aftermath. My only guess is that, even though my mother was holding it, the swaying car ride combined with the weight of the plates put too much pressure on those little stems.
Ok, so it’s not funny that the cake stand broke on you, it looked so good. But the way you’ve written both the DIY posts – hilarious!
Ohhh oh oh I want to make those! Oh, yet another thing to add to the list of things to do, arg. Lovely blog! Hx
http://www.ahealthywifestyle.blogspot.com
I found this post hilarious. Do you watch Glee? When you talked about a 12-step DIY recovery program it reminded me of the episode with Neil Patrick Harris where he has a support group for former Glee members, haha.